Drawing 110
This tutorial will help you learn to draw a Sailor Senshi from the front. Use this tutorial to practice proportions and technique. Please keep practicing your drawing; you will only get better the more you try!The images are thumbnails; click on them to see a larger version in a new window.
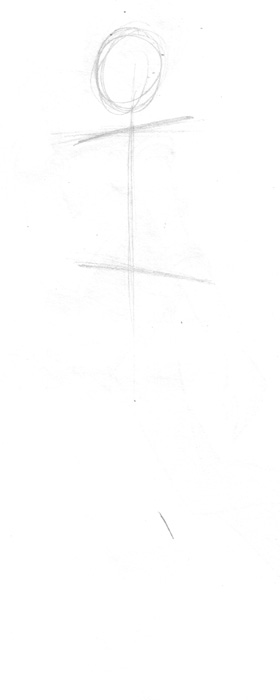 |
Step One: For this standing pose, begin with a vertical line topped with an ovoid form for the head. When standing face-foreword with weight shifted to one leg, the shoulders and hips will be at opposed angles as shown. Drawing in these guidelines will help the pose have a more natural feel than something very straightforward would. |
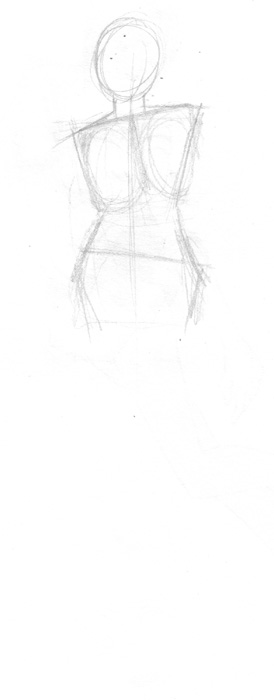 |
Step Two: Add in lines to denote the major masses of the body. The shoulders come down and out from the neck; the sides of the torso go in towards the waist then budge out again for the hips and in towards the thighs. Note the angle of the rib cage (the ovals in the chest). The center line of the chest will be at opposite angle to the hips. The center line of the chest is perpendicular to the shoulders. |
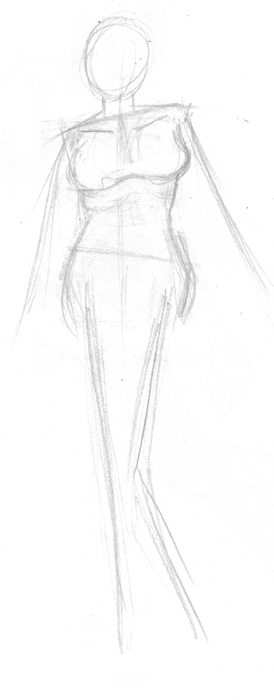 |
Step Three: Round out the forms to make them more 'natural.' Use simple marks to denote the direction and approximate length of the arms and legs. Keep it fluid, get the direction and gesture and forget about detail for now. I also added collarbones and her chest, though it looks a little high. This is going to be a busty girl! ^^; |
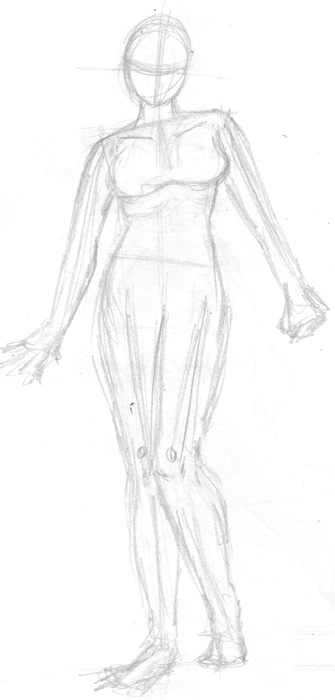 |
Step Four: Sorry if this is a big step! ^_^ This is where I fleshed out the arms and legs and put in the gestures of the hands and feet. The shapes of arms and legs depend on the muscles that are underneath the skin. You can learn more about how parts of the body look by studying the human figure and drawing more often! Hands and feet are HARD TO DRAW so don't worry if you struggle with those. Notice the cross lines on the face; the vertical one is the center line and the one across the middle is where the eyes will be. Remember: the eyes are at the halfway point of the whole head. |
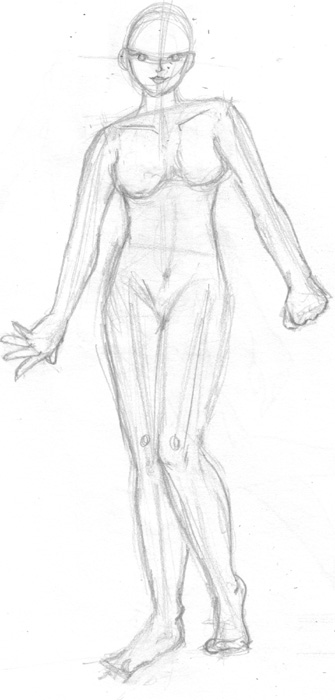 |
Step Five: I redefined some areas of the body. Yes, I know she looks naked. It's much easier to draw a person naked and add clothes after than to try to do it all at once. Please note that I lowered her chest and made it a bit smaller, though probably not as small as it should be, hehe. I added in the eyes nose and mouth, but kept more 'realistic' proportions that anime ones. Feel free to work in more of the details for the face found in the other tutorial on this site. |
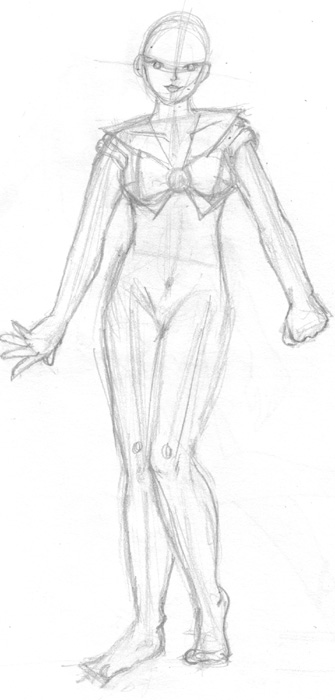 |
Step Six: We will now begin on the outfit. Start with the brooch right at the center of the chest. Draw the bow out from the brooch to just inside the curves of the breasts. Add on the collar extending from under the bow and over the shoulders. Add the shoulder padding under lapping the collar and curving around the upper arms. Try to remember that you are drawing volumes; arms are things that take up space! Try to curve your lines around the bulge of the forms of the body. |
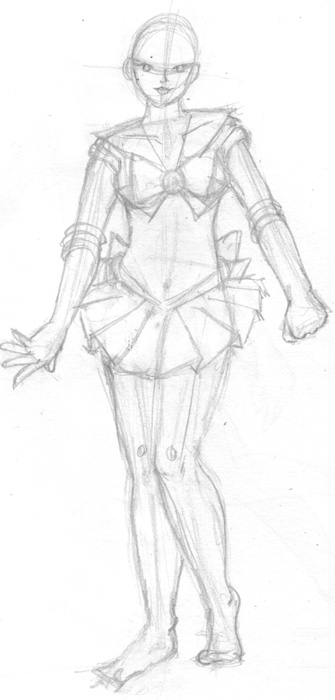 |
Step Seven: Same with the elbow bands, curve the lines around the elbows. Remember that the bulges in front of the others will overlap in the space you are creating. Add the waist band (or belt) with the same idea: curve the lines around the hips. To add the skirt just draw a really open "U" shape and then draw lines coming down from the waist band. If you want to have a more 'flowy' feel, just draw a looser, wavier "U." |
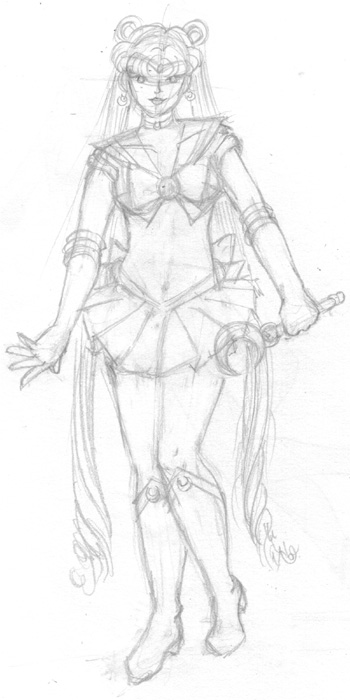 |
Step Eight: Add in her hair and accessories. I decided to make the hair hang pretty straight down, but feel free to make it fly all over the place if you want to! I drew the wand in because that hand looked like it should be holding something. ^_^ Don't worry if your hands and feet look a little weird because mine do too often! They just are not that easy. :D |
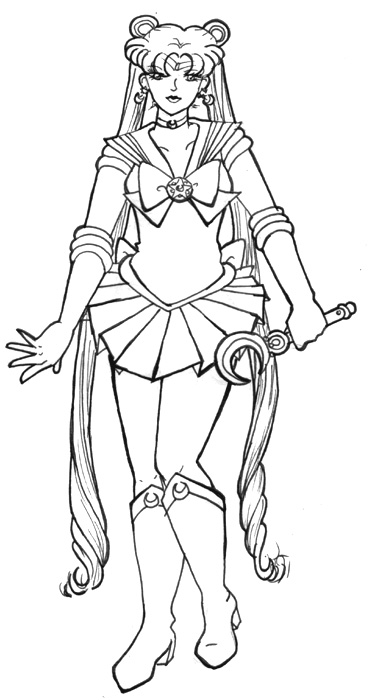 |
Step Nine: Ink your drawing with ink that will not smudge when dry. Then, feel free to color her in! ^___^ If you have a scanner, you can load this image into a photo imaging software program and color her with that as well. |
Final Results
Here is Sakura's final version from this tutorial. She colored this image in PhotoShop 7.0. Please send in your drawings from this tutorial so that Sakura can display the sucess stories on this page.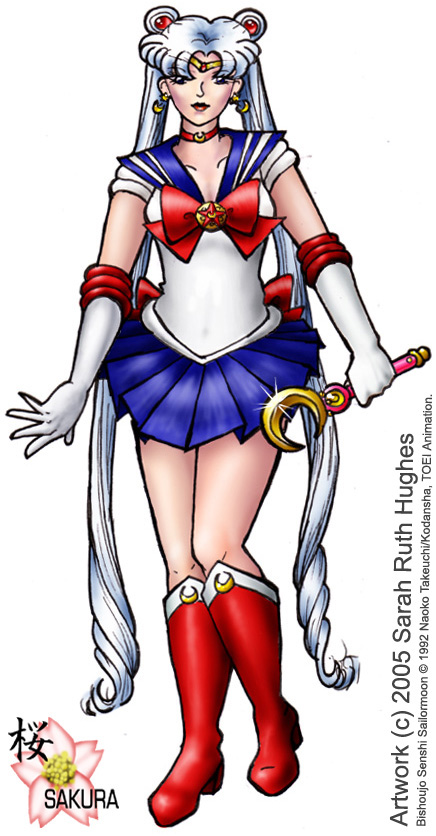
Back to Tutorials | Next Tutorial